how to \install door handle

Have you ever struggled with a loose or broken door handle, constantly wrestling with it just to enter or exit a room? It’s a frustrating experience that can turn a simple task into a daily annoyance. But fear not! 🚪🔧 Installing a new door handle is easier than you might think, and we’re here to guide you through the process step by step.
Whether you’re a DIY enthusiast or a first-time home improver, this guide will empower you to tackle the task with confidence. Imagine the satisfaction of solving this problem yourself and the pride you’ll feel every time you effortlessly open that door. Ready to transform your door-opening experience? Let’s dive into the five simple steps that will have you installing a door handle like a pro in no time!

Gather necessary tools and materials
A. Essential tools for the job
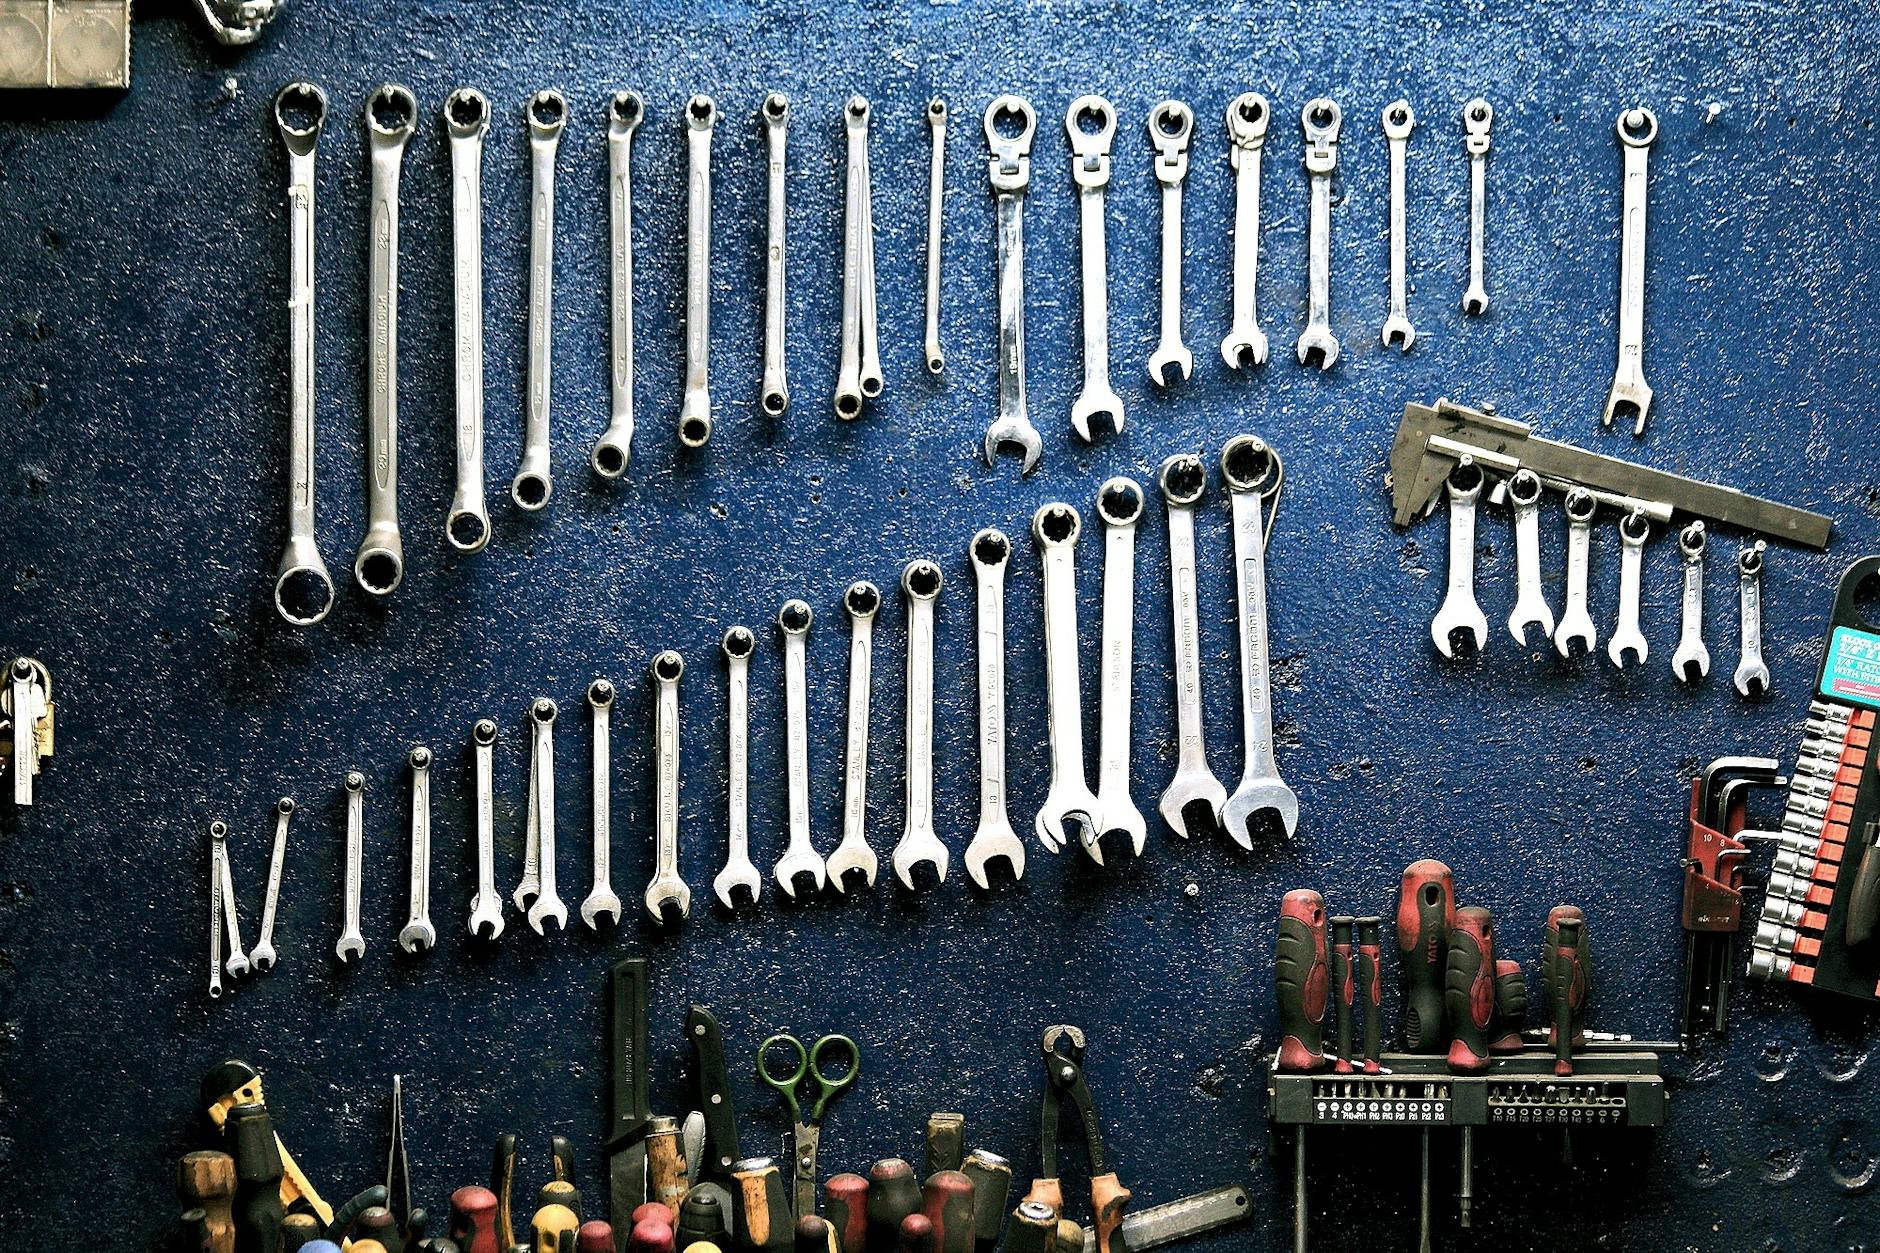
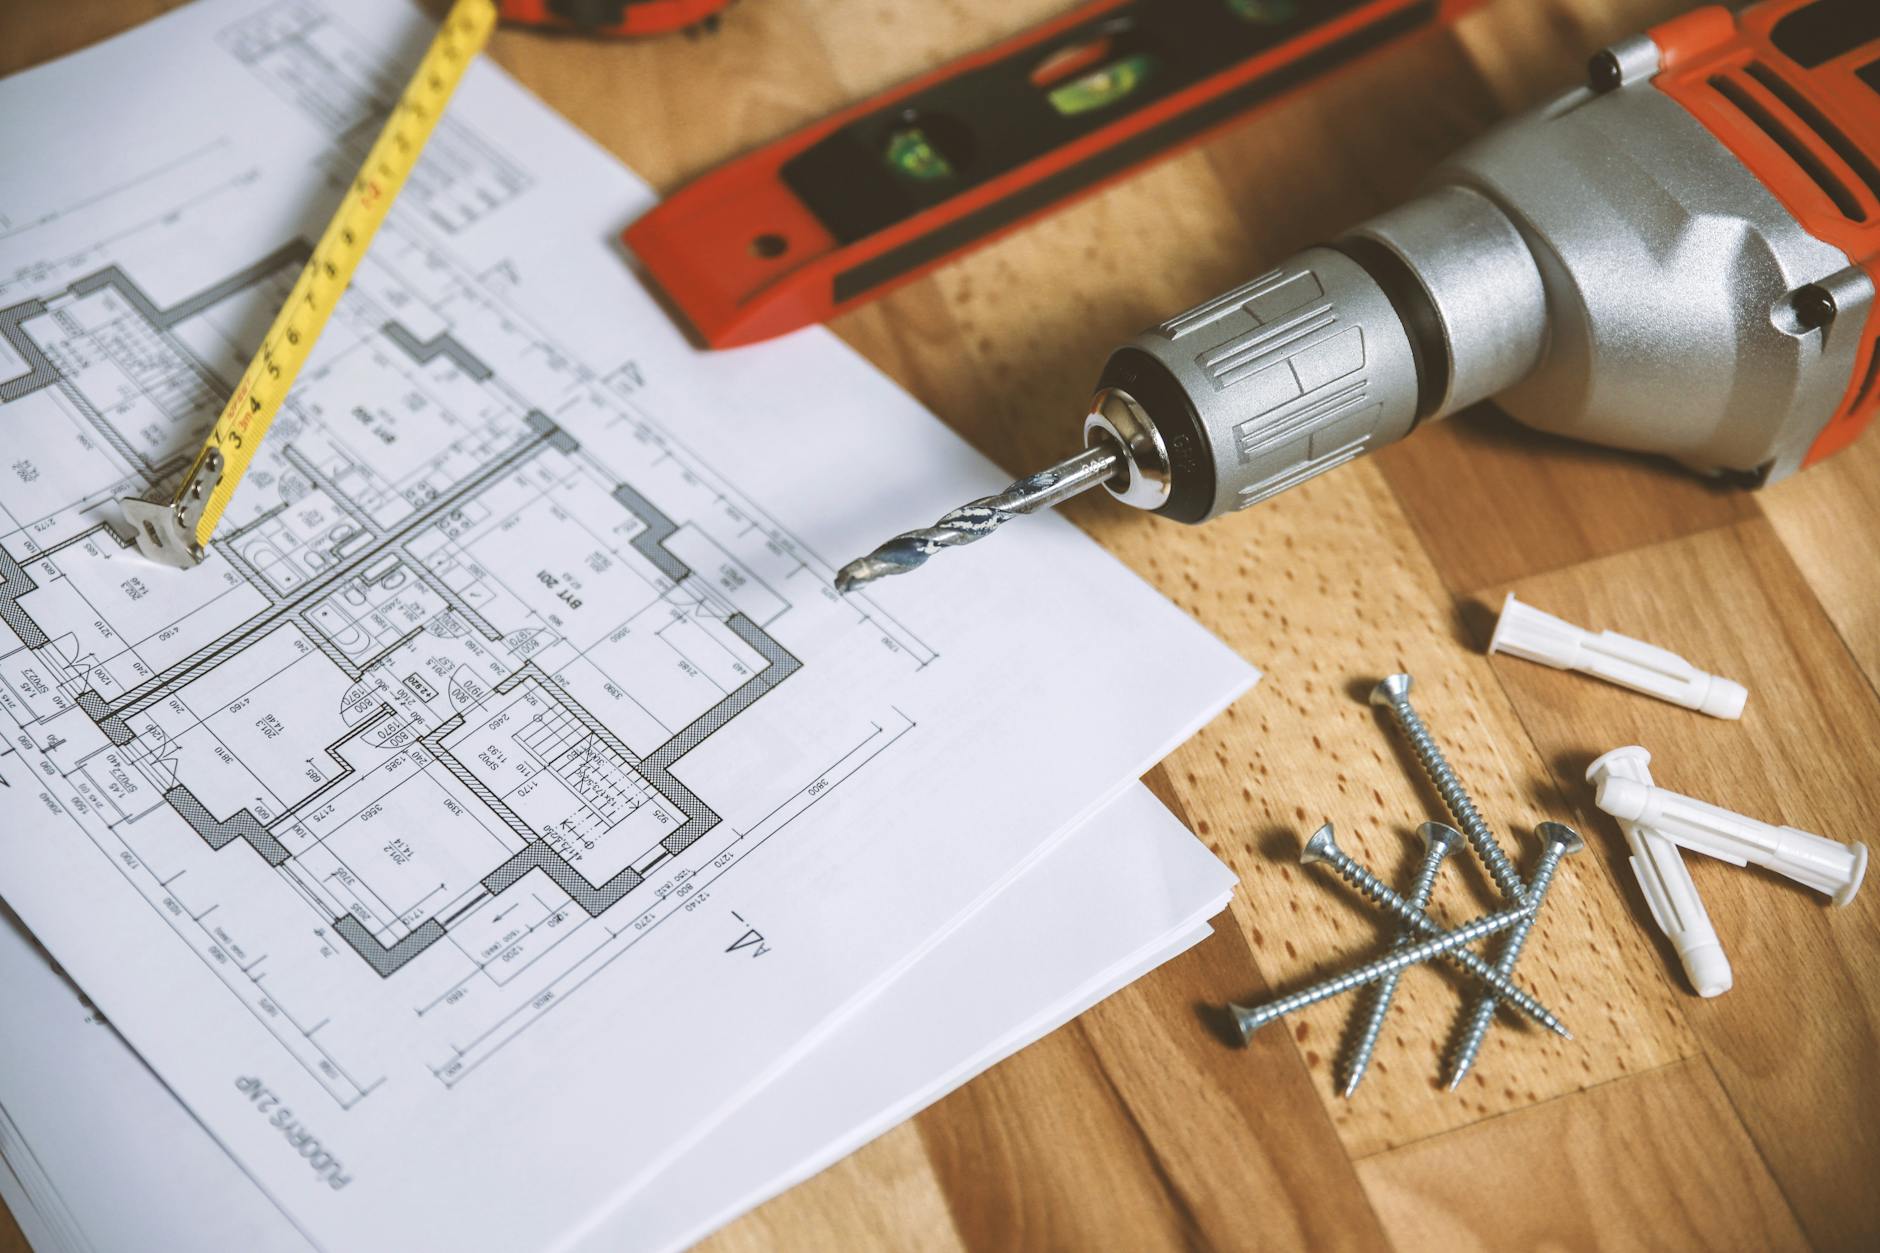
To install a door handle successfully, you’ll need the following tools:
-
Screwdriver (both flathead and Phillips head)
-
Drill with appropriate bits
-
Рулетка
-
Карандаш
-
Chisel
-
Hammer
-
Utility knife
B. Safety equipment to have on hand
Prioritize safety during the installation process by using:
-
Safety goggles
-
Work gloves
-
Dust mask (if drilling or chiseling is required)
C. Choosing the right door handle
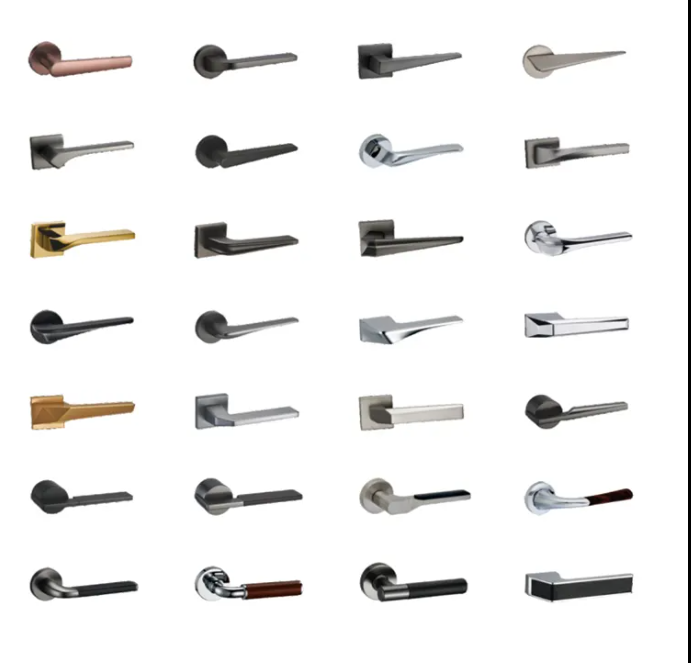
Selecting the appropriate door handle is crucial for a successful installation. Consider the following factors:
| Factor | Consideration |
|---|---|
| Door type | Interior or exterior |
| Door material | Wood, metal, or composite |
| Locking mechanism | Privacy, passage, or keyed entry |
| Стиль | Modern, traditional, or vintage |
| Отделка | Brass, chrome, bronze, or brushed nickel |
When choosing a door handle, ensure it matches the existing hole pattern in your door or be prepared to modify the door accordingly. Measure the door thickness to ensure compatibility with the new handle.
With these tools, safety equipment, and the right door handle in hand, you’re ready to move on to preparing the door for installation. This preparation step will involve measuring and marking the door to ensure a precise fit for your new handle.
Prepare the door for installation
Before installing your new door handle, it’s crucial to properly prepare the door. This step ensures a smooth installation process and a secure fit for your new hardware.
A. Measure and mark for new handle placement
Accurate measurements are key to a successful installation. Follow these steps:
-
Determine the desired height for your door handle (typically 36-38 inches from the floor)
-
Use a tape measure to mark this height on the edge of the door
-
Measure the backset (distance from the edge of the door to the center of the handle)
-
Mark the center point for the handle on the face of the door
| Measurement | Typical Range |
|---|---|
| Handle Height | 36-38 inches |
| Backset | 2 3/8 or 2 3/4 inches |
B. Clean and inspect the door
A clean, damage-free surface ensures proper installation:
-
Wipe down the door with a damp cloth to remove dirt and debris
-
Inspect the door for any damage or irregularities
-
Sand down any rough spots or splinters
-
Allow the door to dry completely before proceeding
C. Remove old handle (if applicable)
If you’re replacing an existing handle:
-
Unscrew and remove the old handle plates
-
Carefully extract the latch mechanism from the door edge
-
Remove any remaining screws or hardware
-
Clean the exposed areas thoroughly
With the door now prepared, you’re ready to move on to installing the new door handle mechanism. This preparation ensures a solid foundation for your new hardware, promoting longevity and proper function.

Install the door handle mechanism
Now that you’ve prepared the door, it’s time to install the door handle mechanism. This crucial step ensures your new handle functions properly.
A. Secure the latch in place
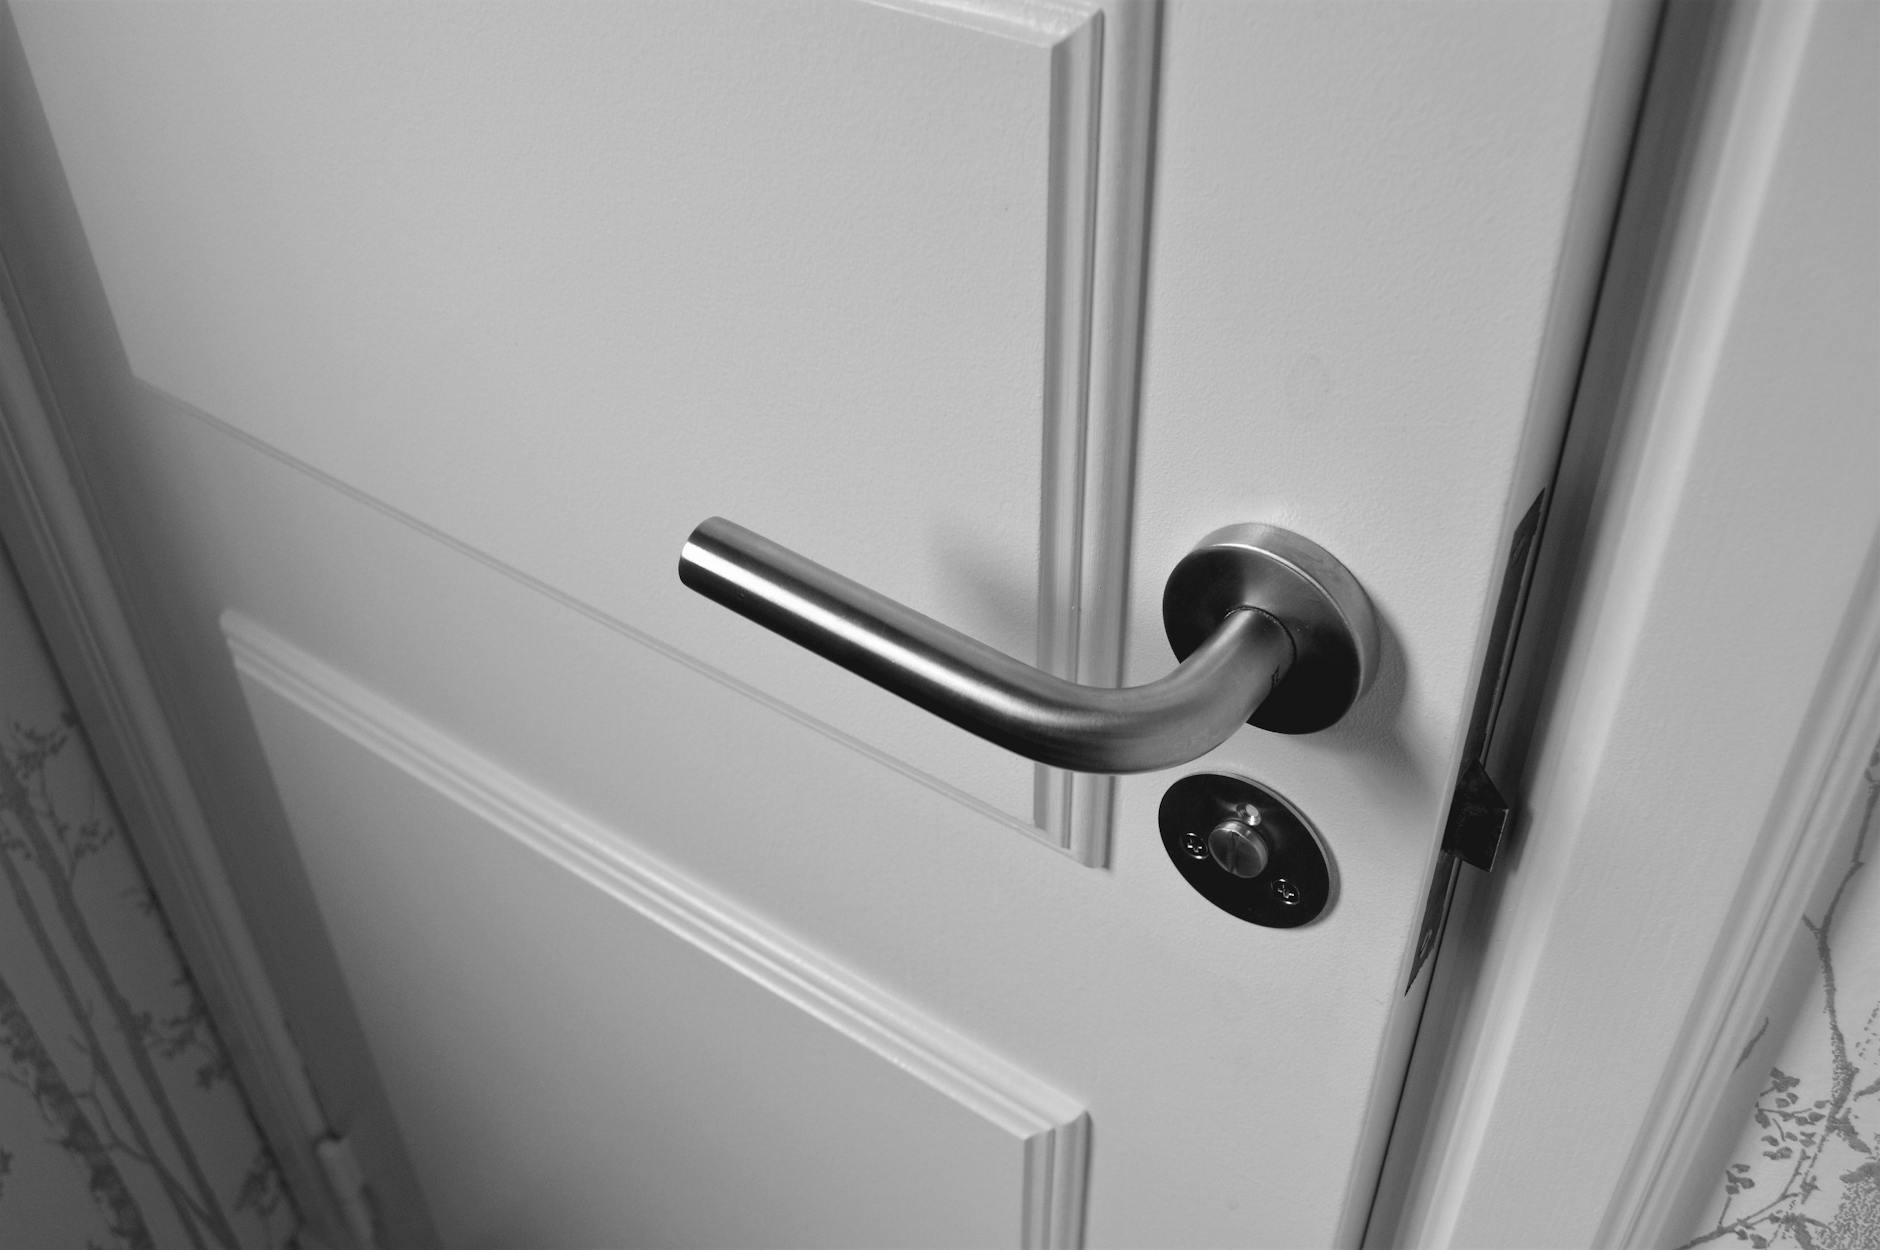
Begin by inserting the latch into the edge bore of the door. Ensure it’s oriented correctly, with the beveled side facing the door frame. Use a screwdriver to secure the latch plate with the provided screws.
B. Test latch functionality
Before proceeding, test the latch to ensure smooth operation:
-
Push the latch in and release it
-
Check for any resistance or sticking
-
Verify the latch springs back quickly
-
Ensure the latch aligns with the strike plate on the door frame
C. Insert the latch and strike plate
With the latch secured, it’s time to install the strike plate:
-
Position the strike plate on the door frame
-
Mark screw hole locations
-
Pre-drill pilot holes to prevent wood splitting
-
Secure the strike plate with provided screws
| Component | Location | Purpose |
|---|---|---|
| Latch | Door edge | Secures door when closed |
| Strike plate | Door frame | Receives latch when door closes |
D. Drill holes for the handle (if needed)
If your door doesn’t have pre-drilled holes for the handle:
-
Use the door handle’s template to mark hole locations
-
Drill pilot holes using an appropriate bit size
-
Carefully enlarge holes to the required diameter
-
Sand edges to remove any splinters
With the mechanism in place, you’re now ready to attach the door handle itself.

Attach the door handle
Now that we’ve installed the door handle mechanism, it’s time to attach the handle itself. This crucial step ensures your door handle is secure and functions properly.
A. Tighten all screws and fittings
Before attaching the handle, double-check that all screws and fittings are tight. This includes:
-
Latch plate screws
-
Strike plate screws
-
Interior mechanism screws
Use a screwdriver to ensure each screw is snug but not over-tightened.
B. Install any additional components
Some door handles may have additional components that need to be installed before the main handle. These might include:
-
Decorative backplates
-
Rosettes
-
Escutcheons
Follow the manufacturer’s instructions to install these components correctly.
C. Secure the handle to the door
Now, it’s time to attach the handle itself:
-
Position the exterior handle on the outside of the door.
-
Insert the spindle through the latch mechanism.
-
Place the interior handle on the inside of the door, aligning it with the spindle.
-
Insert and tighten the connecting screws, usually located on the interior side.
| Handle Type | Typical Screw Location |
|---|---|
| Lever | Bottom of rose |
| Knob | Neck of knob |
| Pull handle | Top and bottom |
D. Align the handle with the latch
Proper alignment is crucial for smooth operation:
-
Ensure the handle is level using a spirit level.
-
Check that the handle moves freely without catching.
-
Adjust the position if necessary by slightly loosening the screws and realigning.
With the handle securely attached and aligned, we’re almost done. Next, we’ll test and adjust the new door handle to ensure it functions perfectly.

Test and adjust the new door handle
Now that you’ve installed the door handle, it’s crucial to test and adjust it to ensure proper functionality. This final step will guarantee a smooth and secure operation of your new door handle.
Make necessary adjustments for smooth operation
After installation, you may need to make some minor adjustments to ensure the door handle operates smoothly. Here’s a checklist to follow:
-
Turn the handle multiple times to check for any resistance
-
Open and close the door several times to test the latch mechanism
-
Tighten or loosen screws as needed to adjust alignment
-
Apply lubricant to moving parts if there’s any sticking or squeaking
Ensure proper locking mechanism function
A properly functioning locking mechanism is essential for security. Follow these steps to verify and adjust if necessary:
-
Test the lock with the key from both sides of the door
-
Check that the deadbolt extends and retracts smoothly
-
Verify that the lock engages securely with the strike plate
-
Adjust the strike plate position if the lock doesn’t align properly
Check handle operation
Finally, perform a thorough check of the handle’s operation to ensure everything is working as intended:
| Action | What to Check |
|---|---|
| Turn handle | Smooth rotation without wobbling |
| Release handle | Springs back to neutral position |
| Push/pull door | Handle remains securely attached |
| Lock/unlock | Mechanism engages/disengages easily |
If you encounter any issues during these tests, revisit the installation steps and make the necessary adjustments. With proper testing and fine-tuning, your new door handle should provide reliable and smooth operation for years to come.

Installing a door handle may seem like a daunting task, but with the right tools and approach, it’s a straightforward DIY project. By following the steps outlined in this guide, you can successfully install a new door handle or replace an old one. Remember to gather all necessary materials beforehand, prepare the door properly, and take your time with each step of the installation process.
A well-installed door handle not only enhances the functionality of your door but also adds to the overall aesthetics of your home. Once you’ve completed the installation, be sure to test the handle thoroughly to ensure smooth operation. With your newly installed door handle, you’ll enjoy improved security and convenience in your living space.


